|
Hi! I have a large latex wardrobe, and a few of my pieces are showing their wear from use. In particular, I have a white latex ballgown where the adhesive has failed next to the zipper, and a latex nurse costume that has a small rip at the hem. Hopefully both are easy fixes for a latex "seamstress"! Photos of both upon request, of course. Is there anyone on MM who does latex repair, or knows of someone who does? Thanks in advance! Max Jul 17 17 10:43 pm Link There are two types of adhesive that are used with latex rubber sheeting: Solvent based adhesives (rubber solution adhesives) and Water based adhesives (latex adhesives) Solvent based adhesives dry quickly but the solvent can cause the latex to curl up. They are highly flammable and must be used in well-ventilated work areas. They generate a good bond with good water resistance and remain flexible. The rubber solvent solution adhesive is a compound of natural rubber dissolved in petroleum solvents usually ethanol and methanol Bostik 3851 Rubber Solution Adhesive together with Bostik Cleaner 4 (Solvent cleaner/thinner containing aliphatic hydrocarbon… previously known as Bostick 6009.) as a primer... Are industry standards for latex sheet bonding /gluing. Different brand names are available in different markets. Do some online research for availability in the US Cleaner 4 is also used to remove excess Bostik 3851 Rubber Solution by dissolving it and removing it from the surface. The water based Latex adhesives are safe to use and do not cause curling up. They do however take longer to dry and may not stand up to immersion in water. Preparation Steps - Wipe away excess powder - Clean surfaces with water (for latex adhesives) for solvent adhesives such as Bostik 3851 a rubber solution adhesive use a primer such as Bostik Cleaner 4 or a rubbing alcohol sparingly... as this will distort latex patch initially …but will flatten out when evaporated - Allow sheet to dry completely - Apply thin layer of adhesive to both surfaces - Allow the adhesive to dry completely and any distortion caused by solvent to disappear ( tape will help prevent curling ) before bonding surfaces - Join the surfaces and apply slight pressure ( making certain no air bubbles ) and than increase pressure to bond rubber - Allow 24 hours for the bond to develop fully Bostik 3851 Rubber Solution Adhesive It is similar to the glue used in bicycle tire repair kits - a small tube might be all you need. These glues generally make latex curl, so it is best to use masking tape/painters tape on the reverse of the latex to stop it curling till the glue is dry. Effective materials and repair procedure : 1: latex of similar thickness and color a: Ideally a rotary cutter /acto knife or very sharp scissors to cut a latex patch - b; Something to roughen the latex surface to provide a 'key' for the glue which could be fine sandpaper c: masking tape/painters tape to stop the latex for stretching or curling, d; latex /glue (Bostik 3851 )-cleaner/primer / de-grease like( Bostik Cleaner 4 )or a rubbing alcohol, lighter fluid or white spirit Affix the shiny side of the cut patch with a bit of masking tape to prevent from curling when glue is applied If patching from the underside......on the outside/shiny side of the garment, close the tear and hold it closed tight with masking tape applied to the outside. Make sure the rip is completely closed, no gaps, no overlaps – or re tape it till prefect. Use a fine abrasive to roughen the side of the latex glue will be applied. This is to provide a good bonding surface to grip for the patch. If a chlorinated latex – you may need do it twice to get a good grip surface Clean/degrease the patch area with Bostik Cleaner 4 (Solvent cleaner/thinner) or rubbing alcohol, white spirit, lighter fluid and leave to dry With the masking tape still in place, apply glue to the patch and to the tear area the same size as the patch (or slightly bigger) Leave to dry for up to an hour to relax any curling or distortion of the latex rubber sheet Remove masking tape from back of patch and carefully place lightly over the top of the repair area. If not aligned well, you should be able to lift the patch off and re-align ….this is another reason for letting the glue dry for a hour first. Press the patch lightly down the length of the repair, ensuring no air bubbles get trapped..( use a small wood craft or wall paper roller for seams and patch areas) Press again a bit harder. All the way along the seam or over make patch to bond the rubber well. Leave several hours to overnight to dry thoroughly, then carefully remove the masking tape from the back of the of the latex. Trim any excess patch that was not glued . Clean any marks and excess glue from the latex using whatever solvent cleaner you used for primer ....eg Bostik Cleaner 4 or rubbing alcohol After curing ( overnight ) give a stretch on the repair and make sure the bond holds up . You will probably be satisfied with your repair and believe you can now design and construct latex clothing .   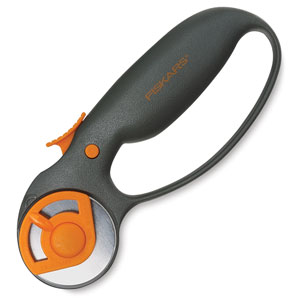 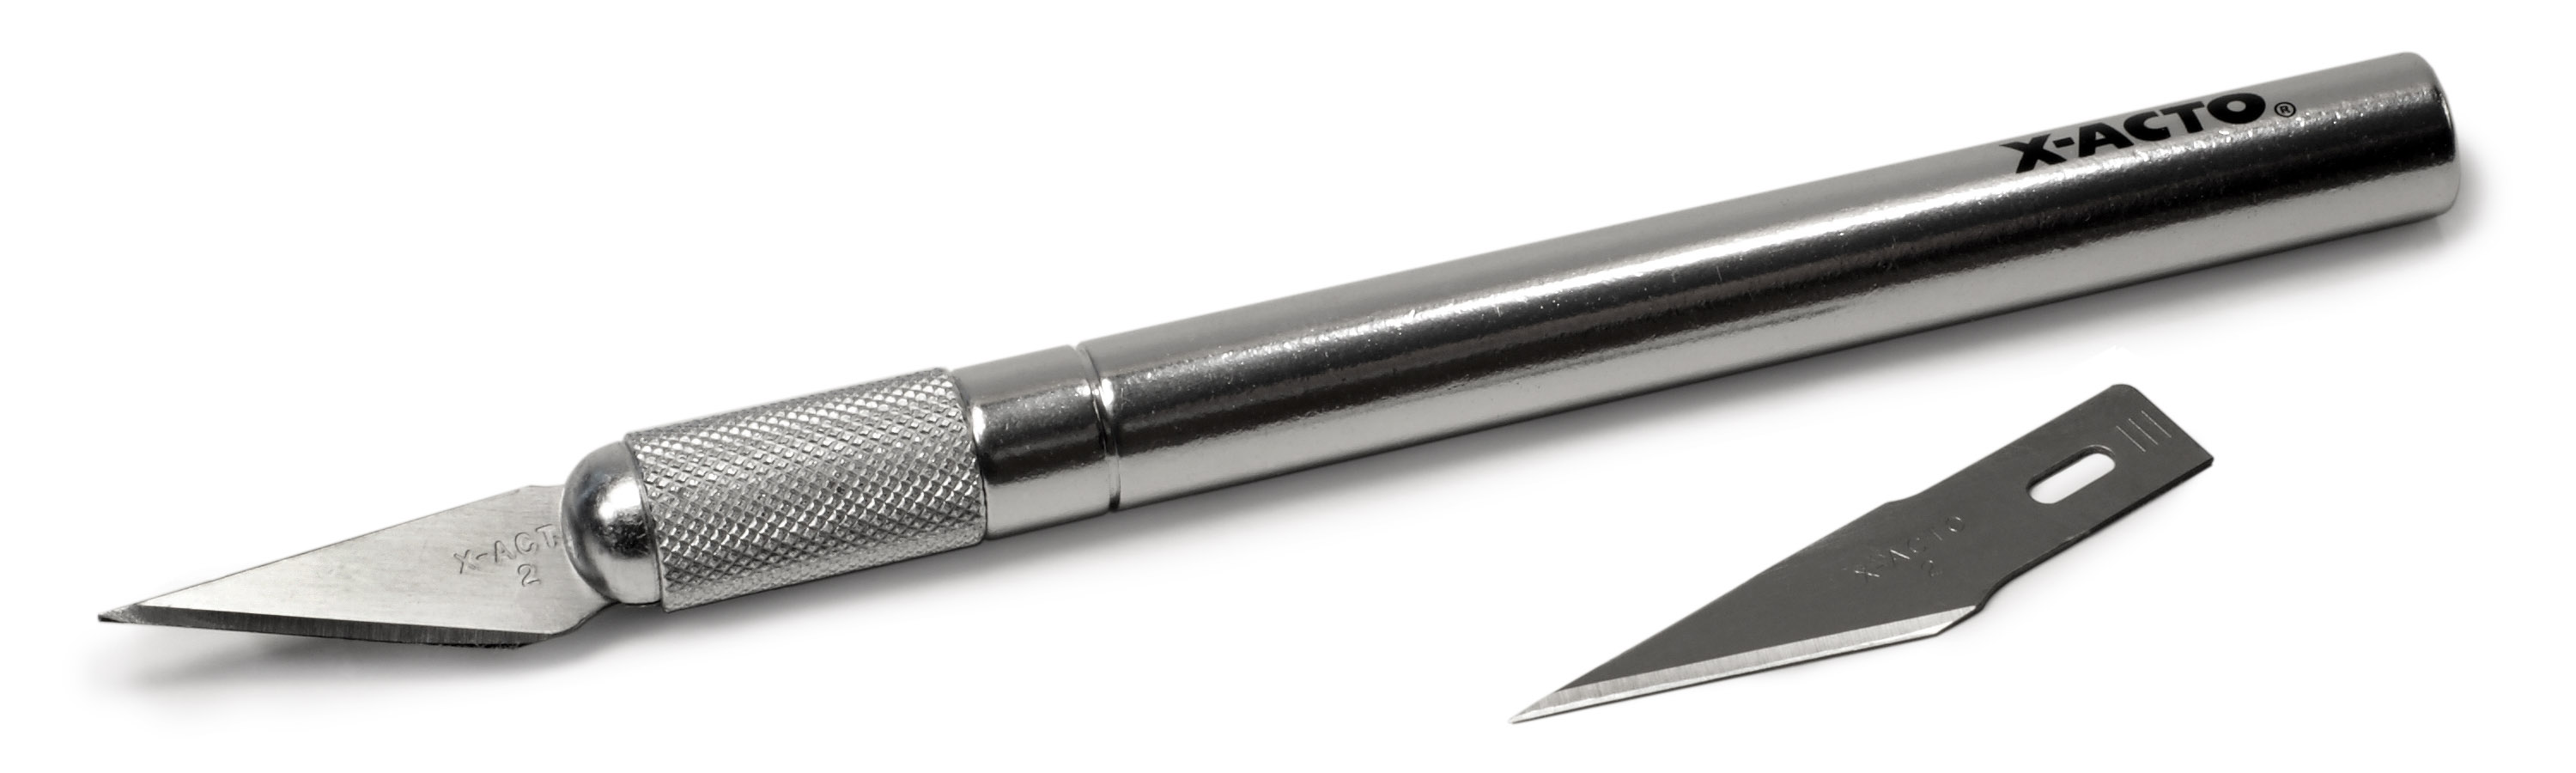 Jul 18 17 09:36 am Link Thanks... I've never done any latex repair myself, so I'm not sure if I want to trust myself on this, lol. Jul 30 17 02:17 am Link |