Underwater Photography On a Budget

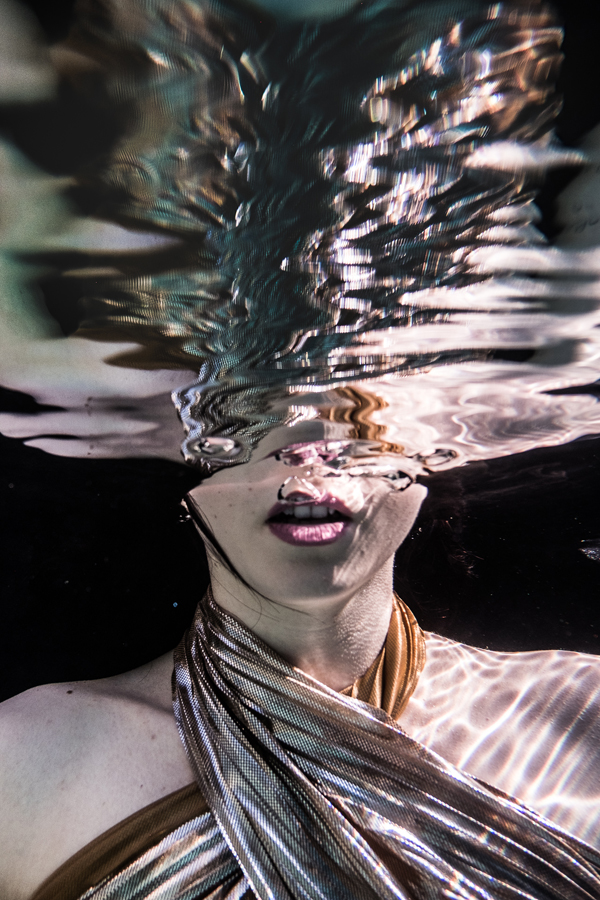
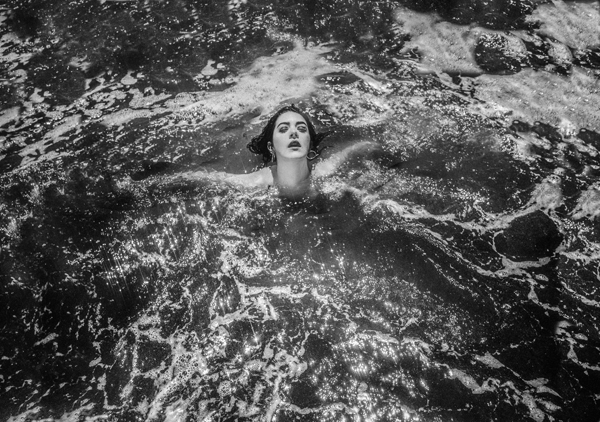
Some of the most breathtaking, dreamy model imagery is shot in, around and under water. Floating bodies, floating hair curling around, currents and bubbles obscuring and distorting the subject, light diffused and refracted each inch it passes through water. Where I live in Phoenix, shooting in pools and local lakes and rivers is a must during the summer. Water photography can be incredibly fun and magical.

Water photography can also be stressful and expensive- but it doesn’t have to be. When I started out back in the film photography days, your options were to use an expensive SLR camera such as the Nikonos V that was totally sealed, or utilize an expensive hard plastic housing. Besides the expense of one camera, you likely had to deal with multiple loaded cameras, as you couldn’t switch film underwater- otherwise, you’d shoot your 36 exposures, then swim back to the boat, reload and venture back to the water.

Modern technology has given us many new options for working underwater. The most affordable option and the highest quality options are surprisingly the same, which is the DiCAPac waterproof case series. These come in varying sizes to accommodate both DSLRs and mirrorless cameras and cost roughly $55. Essentially, it’s a soft, rubbery housing with multiple seals, a polycarbonate shell for your lens and a finger hole to access the shutter button. I’ve used it a lot and had no issues, though of course, it’s important to test any product ahead of a shoot to make sure your own experience is as problem-free as mine.

After the housing, there’s dedicated underwater point-and-shoot cameras and action camera systems. There are dozens of no-name brands under $100, none of which I personally would trust to make great art photography, and more well known Fuji + Olympus “tough” cameras beginning around $150. That’s 3x the cost of a DiCAPac system for your pre-existing DSLR or mirrorless camera; the only rationale for getting an extra camera would be if you absolutely don’t trust your big boy camera to any housing.

Even with the right tools, there are challenges in underwater photography that need to be overcome or resolved. At the top of the list – survival. The model needs to breathe, you need to breathe, and both of you need to figure out how to do this while doing your respective posing and shooting well. From a photographer’s point of view, this involves automating as much of your process as possible- having your camera on autofocus and burst mode, possibly having other people around to help out with aiming lights from a reflector or underwater flashlights on the model. The model will essentially have to preplan expressions and poses, and both parties will have to time out who’s doing what and when. The act of swimming requires at least one arm to push around, so don’t expect to have full access to all your limbs if you’re underwater. It cannot be understated the difficulty of posing or expressing particular emotions while a larger-than-normal percentage of your brain and body is focused on staying alive.

The secondary challenge is knowing when you’ve got the shot and when to move on. With the camera inside its housing, you’d have to take the time to remove the lens casing, detach the lens, unzip all the zippers and pull out the lens-less camera, only to sort through dozens or hundreds of images to find the gems, then repack everything if things didn’t immediately look right. If it’s your first outing underwater, this very well might be a sequence of events that has to happen, but as with all photo shoots, it probably is best for everyone involved to stay focused on shooting in the moment instead of a start/stop/start/stop kind of rhythm.
Regardless if shooting in and under water gets you glorious results, I know from experience that for both photographer and model it can be some of the most fun ever had on a set. The less pressure you put on yourselves, both financially and conceptually, the easier it is to get that authentically dreamy imagery.


August 07, 2021 at 8:37 am, Fred said:
While buying a reasonable priced dedicated camera protects the big boy camera there are other reasons as well. I have a Nikon AW100. that 1 takes amazing photos to reasonable depths and is somewhat shock proof. Small and lite I carry it when I hike and don’t care to carry my D800. If I trip and fall it may better survive where trust me it cost twice the cost of the AW100 to repair the D800 and lens. If you have a housing for big boy the AW100 provides redundancy protection. The AW100 has a different aspect ratio wider and less tall in landscape hold. Selective crop and you have a mazing view. I will look into buying a DICAPac housing for one of my back up SLRs (probably the D700) but still will use the AW100 if I am in the water. Does the housing allow flash? Last point I add is be sure to clean the AW100 or any camera after taking underwater shots. My granddaughter did not and the camera is now in a landfill somewhere.
October 19, 2018 at 9:26 pm, butterscotchtoffee said:
awesome a fellow ASU alumni except I went to the better campus. ASU West. Just kidding kind of lol. I hve been dying to shoot underwater. Hopefully this will fit a DSLR camera. Thumbs up to you.
October 14, 2018 at 7:25 am, John Duder said:
This is really encouraging – and from where I am, in grey and chilly England, it makes me very jealous! Here, it’s mostly a matter of using indoor pools, and hoping there’s enough light for high ISO to allow a result!
October 13, 2018 at 1:17 pm, D V Mahar said:
Great article David and I like the emphasis on safety – I think that gets over looked by a lot of people who don’t realize the challenges involved in underwater photography. I’d like to touch more on the discussion between SLR + housing vs. a waterproof point and shoot. I personally don’t quite feel comfortable putting my 6D in a bag, and they also seem cumbersome to use. I also know it can get very expensive to upgrade to an Ikelite housing, which aren’t 100% leak proof either. Regardless, it makes me wonder if I would really see the difference in image quality if I use a point and shoot underwater camera rather than an SLR. I imagine the polycarbonate cover for an SLR housing is not perfectly clear, plus the murkiness of the water – does it really make a difference to be using a pro lens and sensor? I’d love to hear your thoughts on this and your experience using the DiCAPac as far as usability.