|
Forums >
Digital Art and Retouching >
How to acheive skin texture like this???
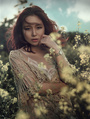
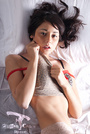
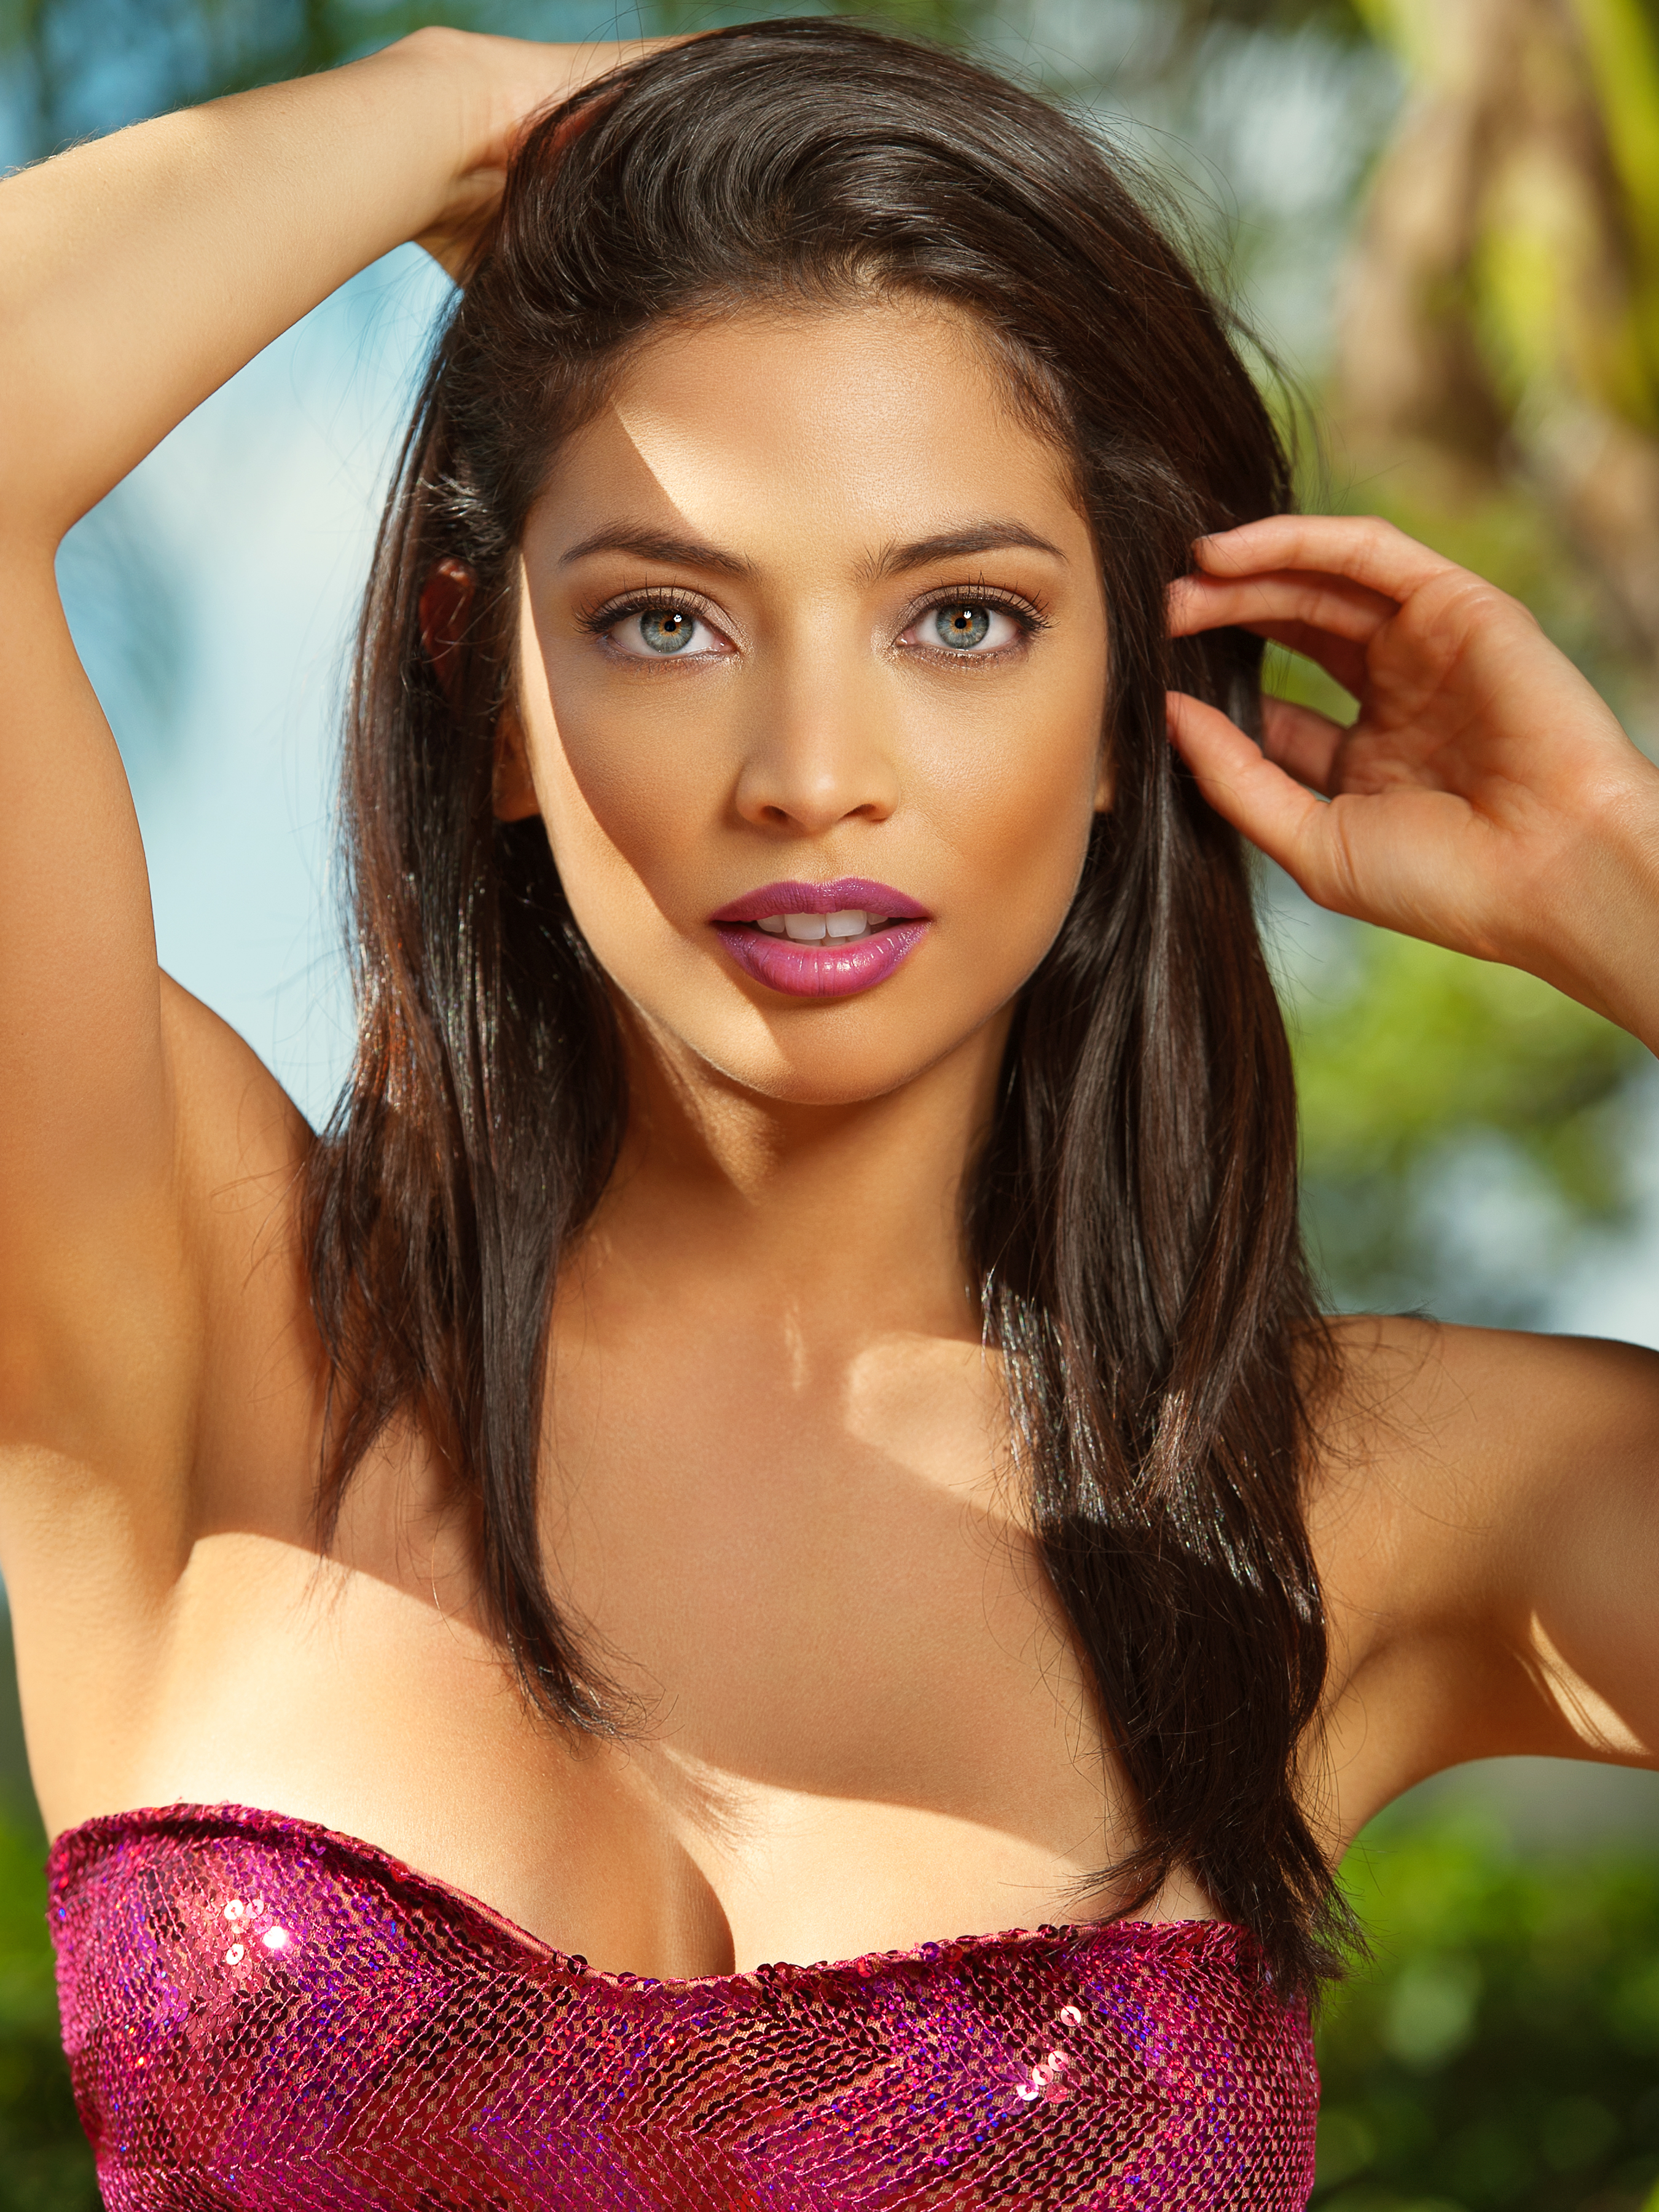
Hello Retouchers! I know how to do the Frequency Seperation Technique, but that does not give me the results in terms of enhancing the skin texture. Here's my image that was edited by a pro retoucher.  close up for details: http://farm9.staticflickr.com/8232/8576 … 42ff_o.jpg It looks to me like it's with the high pass filter, and I can see there are horizontal texture lines but how exactly do you do this? Thank you guys in advance for your feedback. Paul Mar 20 13 02:48 pm Link So we are supposed to guess? Ask the retoucher Show us the original Mar 20 13 02:56 pm Link Natalia_Taffarel wrote: I love MM forums! never a shortage of Concise answers. :-) Mar 20 13 03:00 pm Link Looks to me like d&b, if a bandstop has been used then it's subtle and certainly not abused. Next! Mar 20 13 04:16 pm Link Could you post a 100% crop of this area of the original, out of the camera?  Mar 20 13 04:20 pm Link Head Crop Unedited http://farm9.staticflickr.com/8231/8575 … 09c9_o.jpg Mar 20 13 04:34 pm Link Mike Needham Retouching wrote: Pardon my ignorance, What's a Bandstop? Mar 20 13 04:35 pm Link That would be the D&B technique Mar 20 13 04:41 pm Link paulcobophotography wrote: it's an inverted high pass thingy Mar 20 13 05:17 pm Link I'd say it's just plain old attention to detail via D&B, healing, etc. Put the edited image above the original. Change blend mode of the edited layer to Difference. Put a curves layer above that, change blend mode to screen, and push the curve up a little.  This will bring out the differences very plainly. You can see the dozens and dozens of little blemishes that have been fixed via D&B, heal, etc.  Mar 20 13 06:29 pm Link If you want something like this, you could try the "The art of dodge and burn" DVD. I think it's D&B plus the frequency thinggy... Mar 20 13 07:01 pm Link So the technique is this, 1. Duplicate your Original layer: 2. Then create a new layer 3. Select the new layer, Then heal and correct any blemishes that you want to fix be sure your tools are set to sample all layers. 4.Then merge the layers to new layer (Command+Shift+option+E on a Mac) 5. Duplicate the new "Fixed" layer 3 times 6. Rename them top to bottom like this: Pass Texture Color 7. Now Turn off the visibility on the Pass and texture layer. 8. Select the Color layer and Surface blur it so that the edges are still maintained but the texture is all gone. 9. Now select and activate the visibility of the texture layer and then turn the blending mode to linear light. 10. Then go to "Apply Image" and select the following settings Layer: Color blending: Subtract opacity:100 Scale: 2 Offset: 128 11. Now you should see the image exactly as it was but it has its frequency separation. 12. Now turn off the "Texture" layers visibility. 13. Then select the"Pass" Layer and set the blending mode to linear light as well. 14. Now go to your High pass filter and select the setting that gives you the slight vision of skin texture. 15. Put a layer mask on the Texture layer and an inverted layer mask on the Pass layer. 16. Now using the brush tool, on 30 percent or so, mask out the skin texture to your preference where it needs softening. 17. Now invert the brush color and set it to 16 percent or so and paint in the improved texture where needed on the layer mask of the Pass layer mask. Hope this helps get you in the right direction!!! Play with all of the settings aside from the image apply ones. Eventually you will develop an eye for it and the process will fly by. Mar 20 13 07:28 pm Link Peano wrote: Thanks for this tip! I will try it. Mar 20 13 08:49 pm Link Human Canoe wrote: Thanks for these detailed steps. Since I already use Frequency Separation , I think I should be able to follow all your steps. Mar 20 13 08:51 pm Link I was taught that the Blending Mode should be ADD, not Subtract. Mar 20 13 09:03 pm Link Here's my solution. 1. Shoot the photos 2. Hire a good retoucher and send the file 3. Spend time on marketing and development 4. Shoot some more 5. Have a nice dinner and a couple of cocktails 6. Get back a perfectly retouched file. Ok, I tease, but if you like the results, and if you like working with the retoucher - keep it up! I use photoshop for lots of things. I even get paid to do it. But beauty retouching, real beauty retouching, is a specialty. It is equal parts art and science and, while the basics can be learned quickly, mastery of these skills can take a very long time. Strong work is done by strong teams. Mar 20 13 09:17 pm Link BSL Images wrote: Those Apply Image settings would be for an 8bit image. Mar 20 13 09:21 pm Link Yes, I was talking about a 16bit image. Mar 20 13 09:28 pm Link Nice image Paul  Wonder if you would try emailing the retoucher for deets and get back to us? I'd prob get mad as a retoucher tho, depends on how one asks and me mood =P Mar 20 13 09:53 pm Link BSL Images wrote: That's right. When working in 16bpc, you're blend mode should be ADD while 8bcp images should be set to SUBTRACT. Mar 21 13 11:23 am Link BSL Images wrote: add is 16 bit subtract is for 8 bit neither one is wrong it just different for different file. Mar 21 13 11:31 am Link
Post hidden on Mar 22, 2013 01:32 am
Reason: violates rules Comments: Address the issues, not the individual. Mar 21 13 10:16 pm Link BERMUDEZ STUDIO wrote: I don't know the retoucher that well. I am very happy with the work she did, but I rather not ask her to breakdown her retouching skills. This form here is open to all the retouchers that want to offer info and so I find it more appropriate to as everyone here. Mar 22 13 10:02 pm Link Giacomo Cirrincioni wrote: EXACTLY! Mar 27 13 04:37 am Link The Art of Dodge & Burn – Series Three DVD by Krunoslav Štifter Plus practice & patient Mar 27 13 01:17 pm Link |


