|
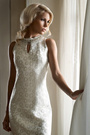
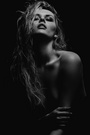
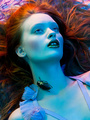
I wanted to try out the classic beauty light setup, with my Einstein with gridded beauty dish about 2-3ft above my camera and a reflector below her chin. This is known as clam-shell lighting. I'm usually about creative lighting, but I gotta say, I'm loving this simple set up. Background was just a white wall in one of the rooms in my house  Shot with Panasonic GH2 with the Olympus Zuiko 4/3 14-54mm f2.8-f3.5 mkII. Shot in f3.5 near the telephoto end. The model is a friend of mine from my college days: Style one   Style two 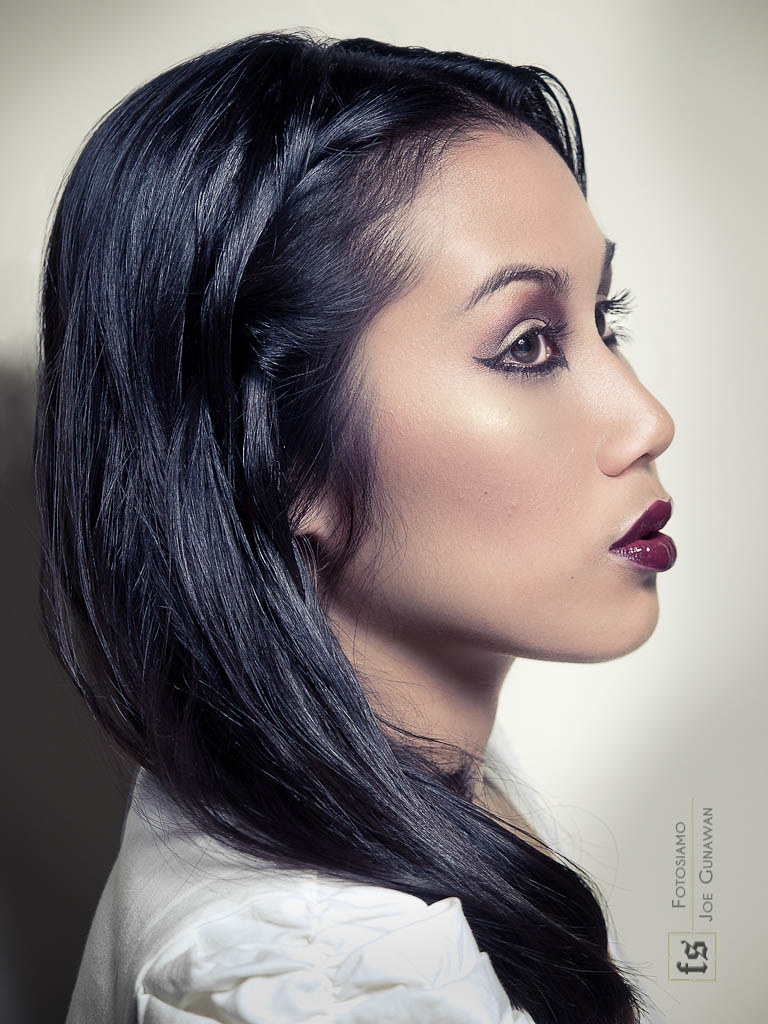 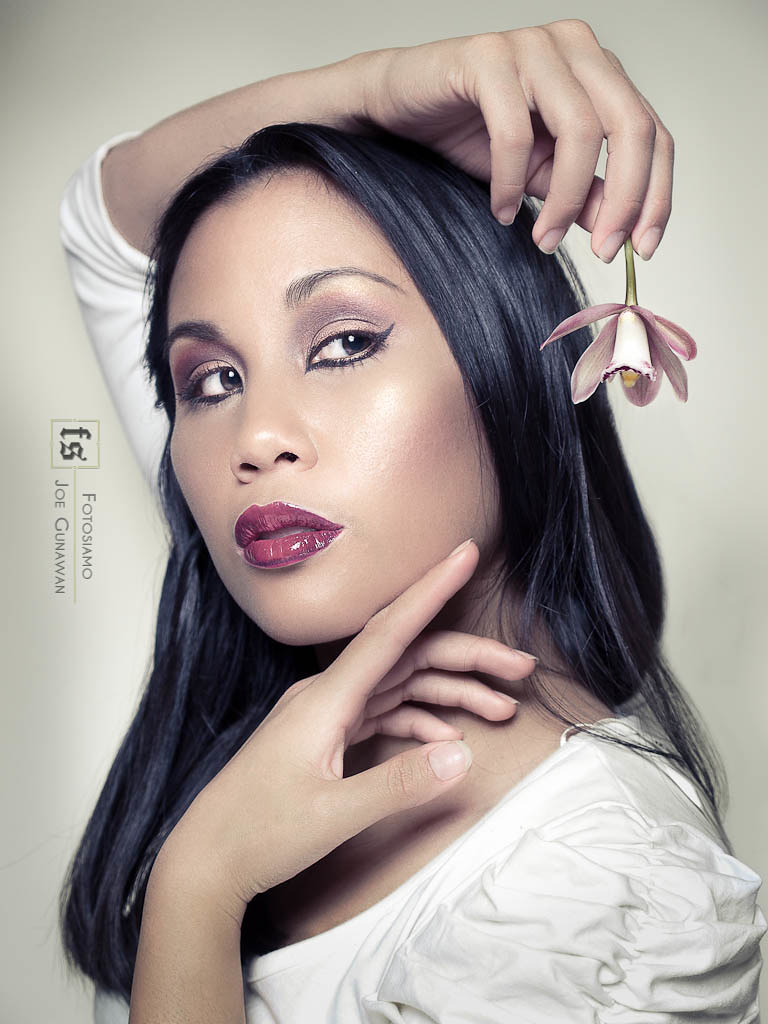 Jan 21 12 02:41 pm Link Also, how does my post-processing technique looking? I changed a couple of ways in my retouching workflow Jan 21 12 02:57 pm Link Lighting seems good, but - personally - I like a TINY bit more 'kick' in the eyes The colourings good, but if you were asking - the I'd suggest you go the whole hog and make the complexion 'flawless'. Not necessarily 'plastic', but 100% blemish free Shots are good and I like the flower one a lot :-) Jan 21 12 03:08 pm Link Joe Gunawan fotosiamo wrote: Basically nice riff on a classic technique - Jan 21 12 03:25 pm Link Fotografica Gregor wrote: Ah, gotcha, I didn't realize that part of it is to keep the highlights in the center like that. Very useful info! Jan 21 12 03:39 pm Link Joe Gunawan fotosiamo wrote: It's actually a very fine point - your basic technique is plenty good. Jan 21 12 03:54 pm Link Fotografica Gregor wrote: Thanks! I will try that when I do this again. I did color-grade this, too, from its original white-balanced photo, so I totally get your artistic decisions. It's not always the most color-correct photo that looks best, right? Jan 21 12 04:17 pm Link Clean and simple well done. I do a similar set up except I keep a gridded and socked beauty dish at eye level and a small soft box above the model with a reflector under the chin Jan 21 12 10:23 pm Link I think the lighting is nice, but the processing could you a little more contrast to make it pop more. I don't like the background though. It's too close to the model's skin tones, so it just kind of washes everything out. I'd rather see a richer color, like deep burgundy, or simply black background. That would really bring out the highlights. Jan 22 12 01:12 am Link Nice start, but try moving your BD closer to the model for more dramatic falloff and more 'glowing' highlights. Also, I agree to an extent with Gregor about clamshell lighting - it's really best for straight to the camera poses. For 2/3rds or profile poses, short lighting or clamshell from the direction the model is facing tends to work better. When a model turns her head to the side in a front-on clamshell setup it effectively becomes broad lighting, which is much less flattering for profile and 2/3rds shots. Just my $0.02 Ciao Stefano www.stefanobrunesci.com Jan 22 12 04:16 am Link Stefano Brunesci wrote: +1 very nice Jan 22 12 04:24 am Link Stefano Brunesci wrote: Ahh, I thought I had my BD close enough. I will try with it closer. As for the short-lighting, I think it would be really good with this model since she does have a somewhat broad chin, as I noticed in my last photo. I will take account into that next time. Thanks Stefano! Jan 22 12 11:55 am Link As Stefano said , move the BD in , higher , angle it down a lot, alos put a black card , barn door , cinefoil or something on the close edge to reduce burning the close part out 9 top of the head usually. Bounce some light back in. Always have both brilliant and mat silver cards for this. Watch the fill what it does. Always avoid double shadows= close as possible to camera axis. If not make sure you block or flag the light below the chin. I have tutorials on my blog that might help. Jan 22 12 12:00 pm Link Wow! I never thought about using the barn doors or black cinefoil to decrease the BD hotspot. Your tutorials are amazingly detailed! I will have to play around with them. I haven't seen barn doors for a 22" BD before, though. Where is the best place to buy cinefoil, by the way? Jan 22 12 08:44 pm Link In terms of retouching the skin, what do you guys recommend? I usually use Portrait Professional on a duplicate layer in Photoshop and played around with it, but for this series, the "soften skin" adjustment brush in Lightroom seems to do a better job, so I used that brush in LR before opening it as a PSD on Photoshop for further retouching. Any good tips on retouching? Thanks guys! PS, I just launched my website and would love comments on it, too: www.fotosiamo.com Best regards, Joe Gunawan | fotosiamo Jan 22 12 09:00 pm Link In both cases, image #2 is stronger. Nicely done. Jan 22 12 09:17 pm Link Joe Gunawan fotosiamo wrote: The one thing that I notice is the bump on her right cheek that catches the light. I would remove that. I can't find much else that bothers me. Jan 23 12 02:11 pm Link Studio126 wrote: Thanks, will do! Jan 24 12 03:49 am Link |